

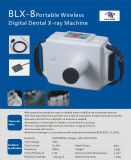

Dental Wireless BLX-8 Oral X-ray Machine portable Rechargeable Digital Frequency Item NO.: 10115030


Copy and share this link on social network or send it to your friends
Copy| Product Name | Dental Wireless BLX-8 Oral X-ray Machine portable Rechargeable Digital Frequency |
| Item NO. | 10115030 |
| Weight | 6.5 kg = 14.3300 lb = 229.2808 oz |
| Category | Instruments &Instruments > X-Ray Equipment |
| Brand | Bomaoer |
| Creation Time | 2018-02-01 |
Features:
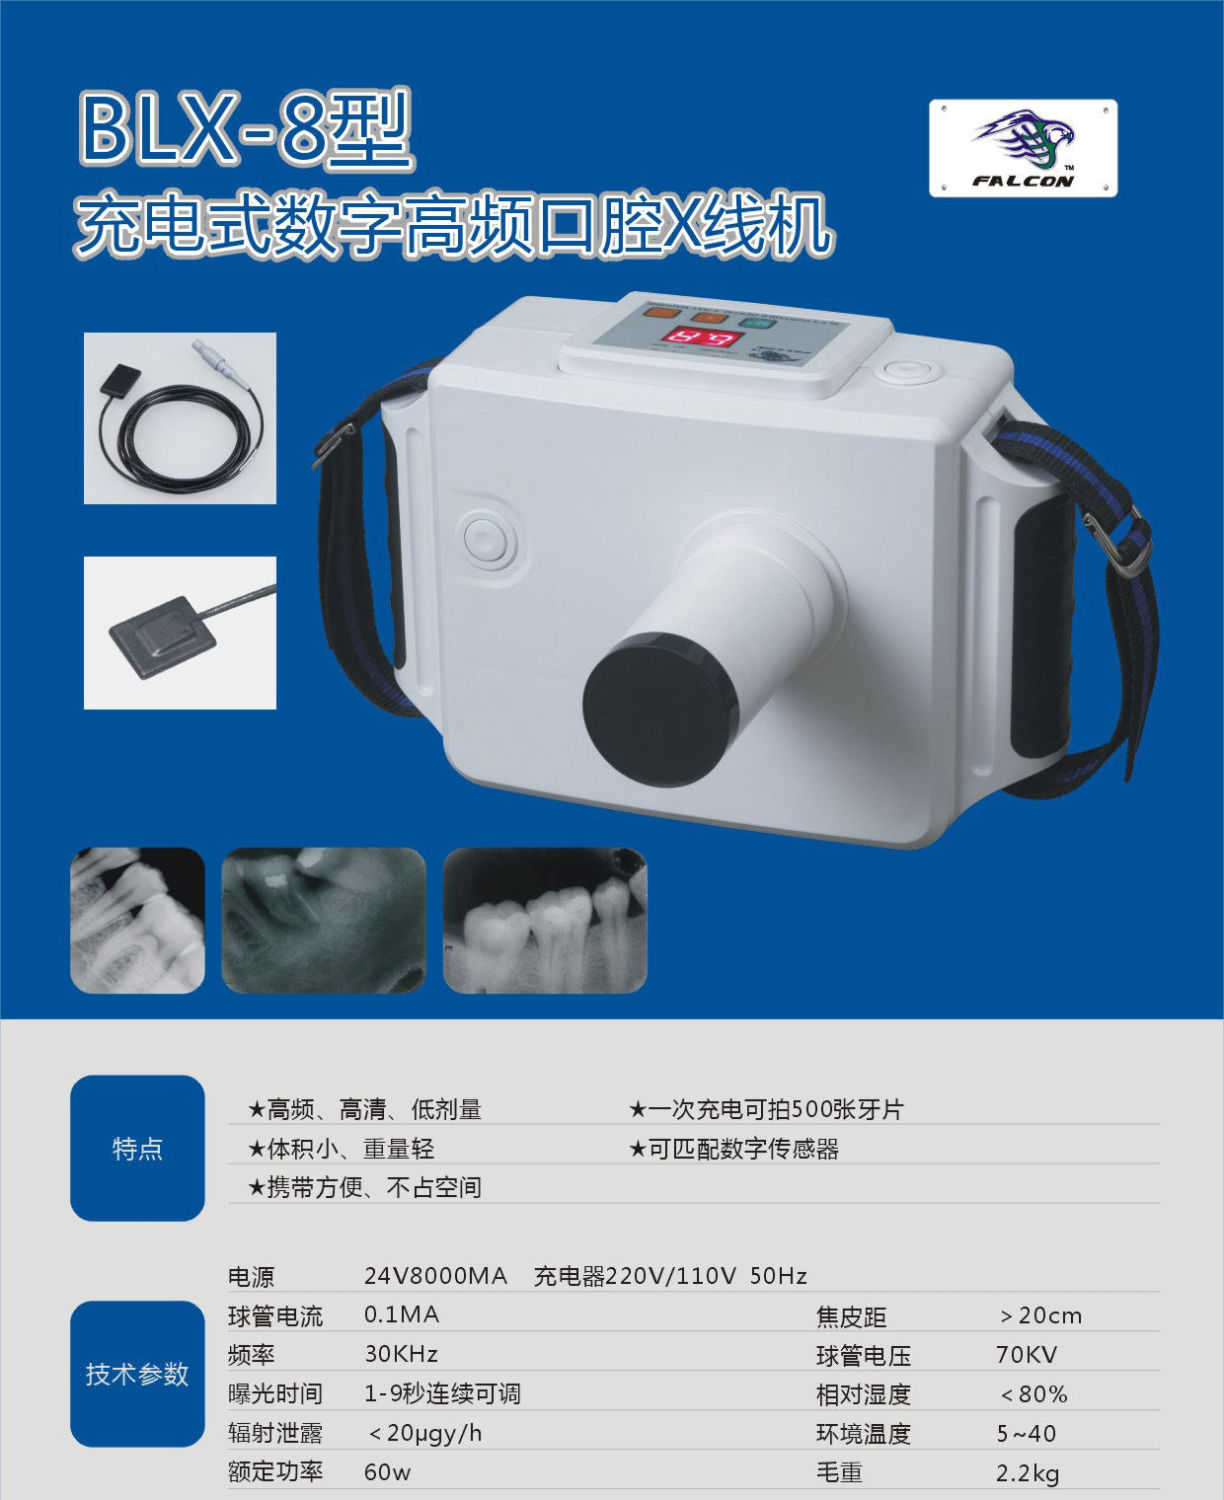
1. The tube voltage frequency of this machine is 30 KHz, and the tube current is 0.2 MA. The radiation scope is at an angle of 24 degrees, located within a distance of 1.2 meters ahead.
2. Toshiba 0.3mm x 0.3mm micro-focus tube
3. No protective operation room is needed when installing the complete machine
4. Flexible adjustment of position and angle of handpiece
5. Compact in volume, light in weight, convenient for carrying
6.Time is adjustable, high contrast of picture, imaging in focus
7. There are vacuum components and high-pressure parts inside of the machine, so for your safety and the maintenance of the machine
8. The tube head is equipped with excellent radiation-shield protection (except the radial mouth, and tests have shown that the radial index is zero. Safety is guaranteed.
9. Non-film inspection and storage can be realized when corresponding to a sensor
10. SKU: DL-L-BLX8
Specifications
Voltage: 110v±10% and 220V±10%
Power: 24V 8000MA
Charger: 220V/110V, 50Hz
Tube current: 0.1mA
Rating: 60W
Frequency: 30 KHz
Exposure time: 1-9 seconds optional
Leak radiation: < 20μgy/h(12lb)
Focus Skin Distance: >20cm
Tube voltage: 70KV
Relative Humidity(RH) < 80%
Storage conditions: 5-40 degrees Celsius, relative Humidity
Net weight: 7 kg
Dimension: 42 x 22 x 27 cm
Content:
Main Unit x 1
Dental Film Position x 1
Charger x 1
Dental Films for Test x 5
English Manual x 1
Warranty Card x 1
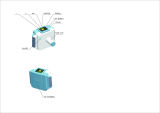
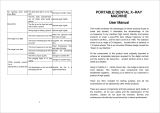
Operation of the Main Unit
1. Upon receiving, open the box and check the product for possible damage during shipping.
2. Make sure the fittings on the encasement list are packaged within the box.
3. Connect the six-core cable (of the Main Unit) to the joint of the ball head and tighten the screw
4. After the Main Unit and ball head are perfectly fit together, plug in the international standard electrical source, grounding is strongly recommended.
5. Turn on the Power; the pilot lamp will be light up.During this time, the digital tube of the main unit will show the fore setting time. Now the equipment is in standby mode.
6. Setting the time (Skip to next step if unneeded) Use the "SET", "+", and" -" buttons to reset the time as follows: press SET, the pilot lamp above is illuminated, the machine is now in the time setting mode→then press "+" and" -" to set the time needed (time range is 0.5-9seconds); press set again when the time is adjusted the light lamp is off. The equipment is now in standby mode.
7. Put the Tooth film plumb behind the tooth which is going to be taken picture, and be as close as possible (the smooth side stick to the tooth)
8. Keep the ball head plumb to the tooth projection position; Have the ball head, tooth, and tooth film steadily mutually plumb.
9. After positioning, use theEXP on the main Unit, the remote controller, or the button on the touch head tube to take pictures. The three methods have the same effect. (Notice: gently press)
10. After exposure to the tube, release the start button again (available in three ways) in case of an emergency to stop shooting and return to standby status. (At this point there was no output ray, so the dental films can be used again).
Repeat step 6 to reset the picturing time.To repeat the picturing process, please repeat steps 7 to 9.
11. Turn the power of the main unit off when the work is finished, press POWER, making sure the pilot lamp is off. Don't keep the main unit long in standby mode.
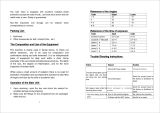
Points for Attention
1. Make sure the angle of film, tooth, and ball head are properly aligned when taking a picture. Keep them steady until the last step of picturing; making sure that there is no change in any of their positions.
2. Remember to turn the power offwhen work is done.
3. Change the battery if the remote controller loses its functioning or if the remote's distance is shorted.
4. After turning the power on, wait one minute before taking pictures, this allows the ray to provide a steady output.
5. The equipment switches into protection mode automatically when the voltage is incorrect. If this occurs, it will not be able to carry out the normal work of filming.
6. When taking pictures, the EXP button could stop the objection and then the machine goes back to the preparation mode.
7. Use high quality tooth film and developing liquid to make clear pictures.
8. Handle the ball head gently while in use, so as not to damage the delicate component.
9. Do not pull hard on the cable which connects the ball head to the main unit.
10. The cable connecting the ball head to the main unit cannot bear the weight of the ball head, so do not raise the ball head by holding the cable, it will cause damage.
11. We usually set the time between 3-8 seconds when taking pictures, but the actual time of ray output is 0.2-0.5 seconds.
12. If a situation occurs, preventing the machine from taking regular pictures, contact the seller to solve the problem instead of trying to service the product yourself.
13. Keep the tooth film and the liquid in a proper place and use them within the shelf-life period.
14. Development of films should be performed at temperatures ranging between 23-25 degrees Celsius to ensure the image quality.
15. Other requests accordance with the scope of the technical parameters.
16. Please read the manual carefully before using.
You May Also Like

Recently Viewed


- Company Info
- Feedback
- Customer Reviews
- About Us
- Contact Us
- News
- Privacy Policy
- User Center
- Forget Password
- My Orders
- Tracking Order
- My Account
- Wanting to cooperate with us?
- Register
- Not Satisfied with our products or service?
- Payment & Shipping
- Customs & Taxes
- Locations We Ship To
- Shipping Methods
- Payment Methods
- Newsletter


 Leave a message
No related record found